Start installing Ubuntu
After you have booted from the Ubuntu Desktop CD, you can use Ubuntu’s graphical installer to permanently install Ubuntu on your computer system. The instructions in this section describe how to install the Desktop.
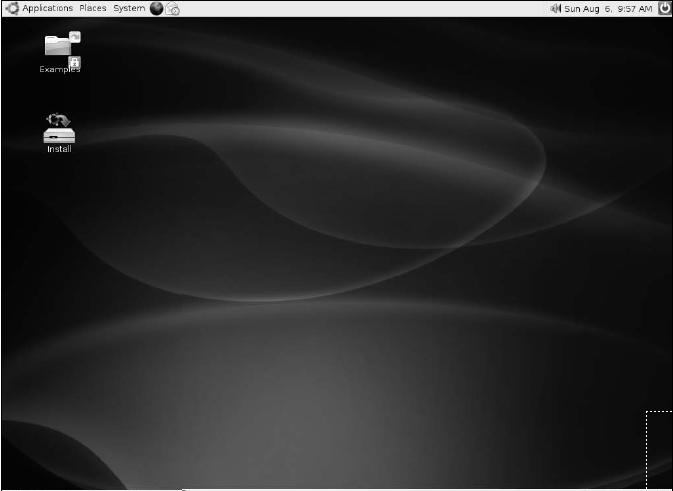
You’ll need to supply a few pieces of information during the installation process so that Ubuntu is correctly configured for your system, language, and geographic location. To install Ubuntu Linux from the Ubuntu Desktop CD’s desktop, do the following: Double-click the Install icon on the desktop shown in Figure 2.2 to begin the installation process.
1. Double-click the Install icon on the desktop to begin the installation process.
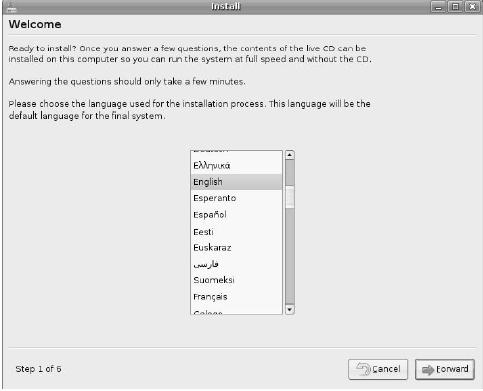
2. Select the language you would like the installation process to use in subsequent dialogs and messages.
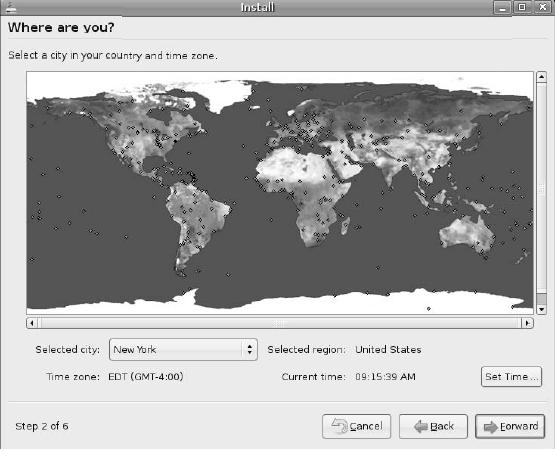
3. Specify the location where you are using your computer.
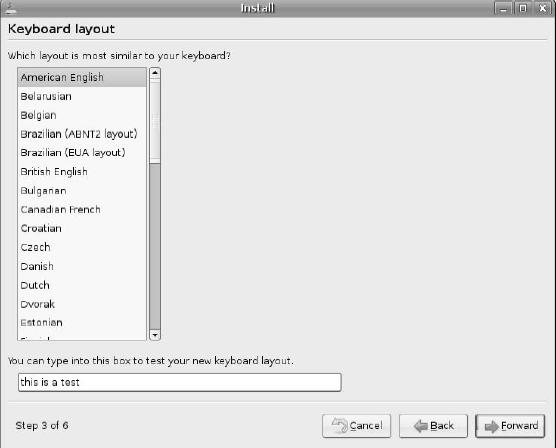
4. Specify the type of keyboard attached to your computer. The default value is based on your settings on previous screens—if this is incorrect, select your keyboard type from the full list of supported keyboard types. Click Forward to proceed.
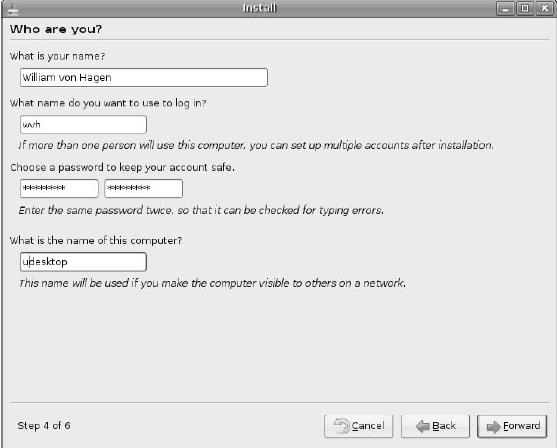
5. Next step, provide personal information that will be used to create your account during the installation process. This account will have the ability to execute privileged commands on the system. After you have filled out all of the fields on this form, click Forward to proceed.
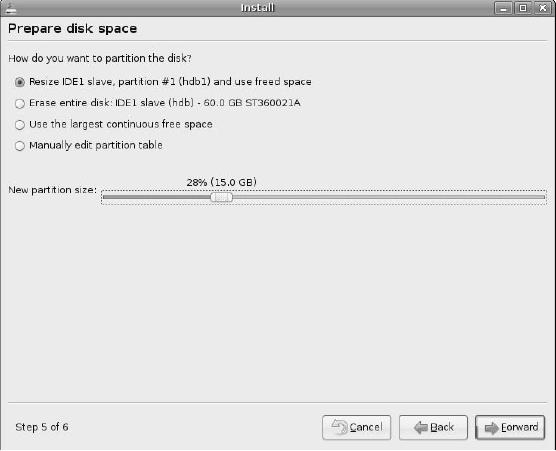
6. Select where you want to install Ubuntu. This dialog looks different and displays different options depending on how the disks in your system are currently configured and what partitions they already contain (if any). The option that you want to select therefore depends on the current state of your system and where you want to install Ubuntu Linux:
- If you are installing Ubuntu on a new computer system or on a computer system where you do not want to preserve any existing files, applications, or other data that are currently on its hard drive(s), select the Erase entire disk option.
- If you are installing Ubuntu on a PC system on which Microsoft Windows is already installed and do not have unallocated space on your disk, select the Resize option and drag the slider at the bottom of the dialog to reflect the new size of your existing Windows partition.
- If you are an experienced Linux user and want to manually specify how to partition your disk, select the Manually edit partition table and see the sidebar entitled “Manually Partitionin a Disk” for additional information about using Ubuntu’s graphical disk partitioner. (For how to manually partition the hard disk, please see details on the reference)
Once you have selected the appropriate option for your system, click Forward to continue.
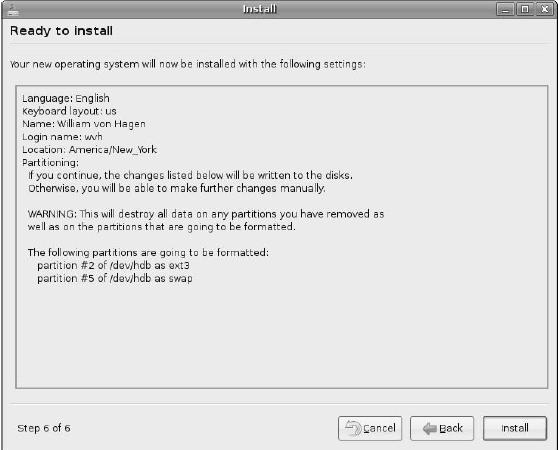
7. The Ubuntu desktop installer displays the screen shown in Figure 2.9, which summarizes the information that you have supplied on previous dialogs. Click Install to proceed.
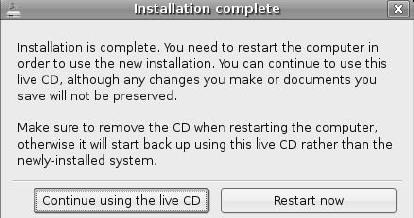
8. The Ubuntu installer displays several progress dialogs as it formats the partitions on your hard disk, installs Ubuntu Linux to your system, creates accounts and other system configuration information, and so on. Once the installation completes, you are asked whether to continue using the Live CD or reboot your system.
9. The first time that you boot Ubuntu Linux, you will want to update your system. This ensures that you have he latest and best versions of all of the standard Ubuntu software, which provides security-related fixes, bug fixes, and general enhancements. For information about updating your system, see the section of hapter 20 entitled “Using the Ubuntu Update Manager.”